
When we bought this place, the “garden” was a patch of lawn with clay underneath so dense you could bounce a shovel off it. Mark took one look at me trying to dig and said, “We’re building raised beds.” Best decision we’ve made on this property.
We now have six. Two pine, two cedar, and two stone. Not because we planned it that way. Because we kept changing our minds. So at least I can tell you how all three actually hold up in a zone 3 winter.
The pine beds (year one)
Cheap, quick, built in an afternoon. Mark had them screwed together before I’d finished my coffee.
They lasted four winters. Freeze and thaw is brutal on wood. Boards warped, the corners pulled apart, and by year four one side was basically compost. If you’re renting or just testing out raised beds, pine is fine. Just know it’s temporary.
One thing: skip old pressure treated lumber for veggies. The older stuff used chemicals you don’t want near food. Newer treated wood is considered safer, but we skipped it anyway.
The cedar beds (year two)
Cost about three times as much as pine. Still going strong after seven winters with barely any rot. Cedar is the sweet spot for most people. It looks nice, it’s still easy to build, and it lasts.
The stone beds (our favourite)
This is where I get a little obsessive.
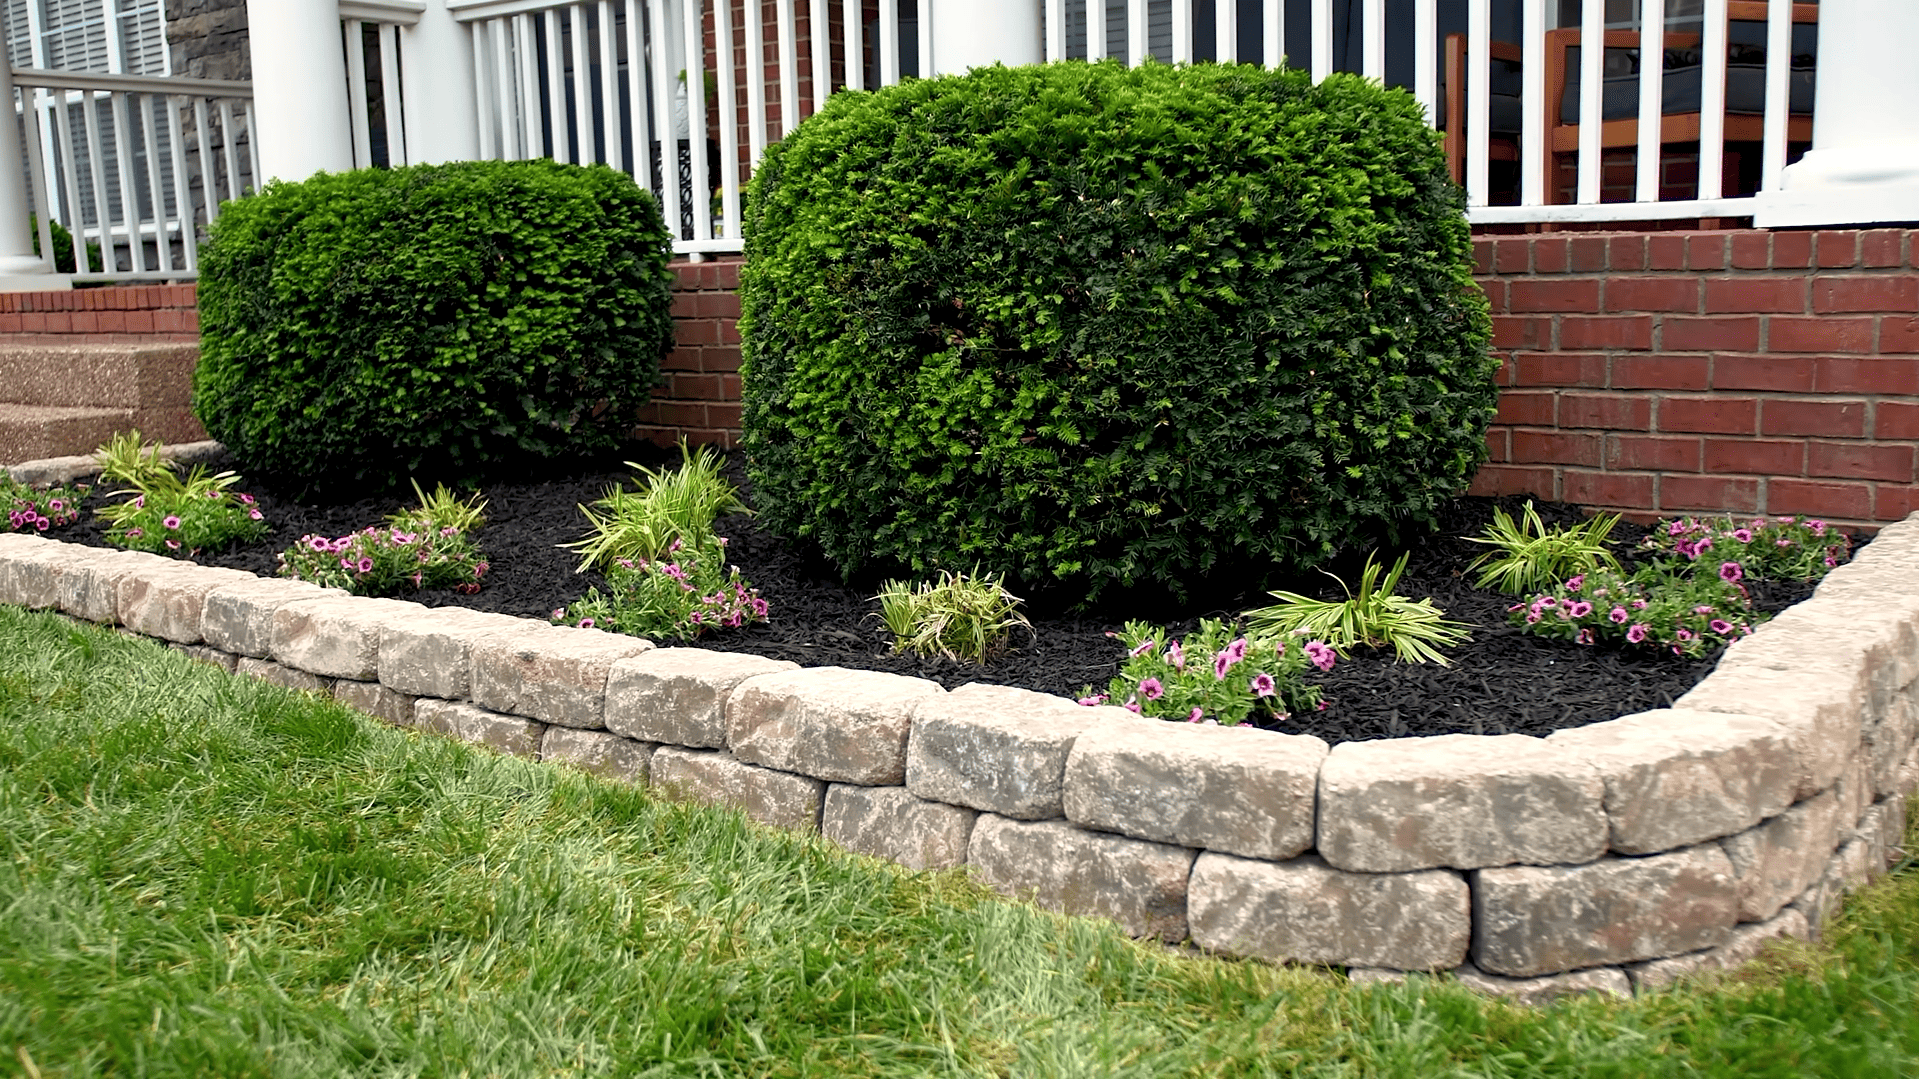
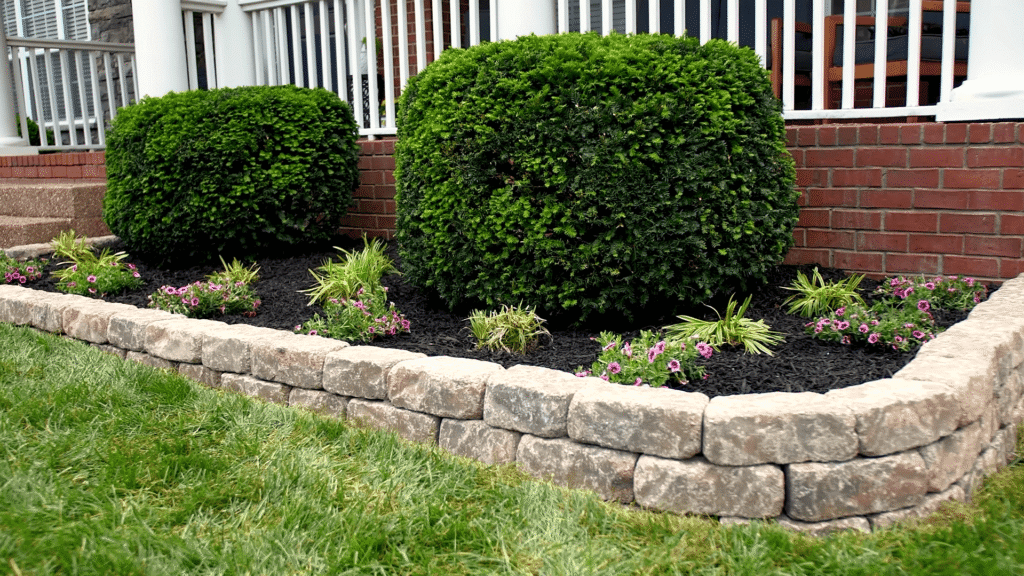
Our property is full of rocks. Like, every time I dig a hole I find three more. So one summer we started piling the good flat ones aside, and eventually Mark dry stacked two beds out of them. Took most of a summer, a lot of Advil, and one very sore back.
Totally worth it. The stone beds are the warmest spot in my whole garden. Stone soaks up sun all day and keeps the soil warmer overnight, and my peppers and tomatoes in those beds ripen about a week ahead of the ones in the cedar beds. In a short season, a week is huge.
Downsides: they’re heavy, they took forever, and dry stacked stone can shift with frost. Ours are about 18 inches high, which is fine. Anything much taller really needs a proper gravel base and some know how.
Brick, which we didn’t do
My neighbour down the road has gorgeous brick beds that match her old brick house. Brick lasts decades and holds heat like stone. But anything more than a couple of rows high needs mortar and a proper footing up here or frost pushes it apart. That’s a bit beyond a weekend project, so we passed.
Side by side
| Pine | Cedar | Dry stacked stone | Mortared brick or stone | |
|---|---|---|---|---|
| How long ours lasted | 4 winters | 7+ and counting | 5+ and counting | Neighbour’s: 20+ years |
| Cost | Low | Medium | Free stone, lots of labour | High |
| DIY | Easy | Easy | Medium | Hard |
| Holds heat | No | No | Yes | Yes |
What I’d tell a friend
- 10 to 12 inches deep is plenty for veggies. Go 18 or more if you want to sit on the edge.
- Keep beds 4 feet wide max so you can reach the middle.
- Lay cardboard on the grass first. It smothers the grass and breaks down on its own.
- Fill with roughly half topsoil, half compost.
- If a bed is turning into something over 2 feet tall, or you’re using it to hold back a slope, that’s really a wall now. Different rules apply. (More on that in a future post, because we have a slope.)
If I were starting over, I’d build cedar to learn what I like growing, then slowly swap to stone. The heat alone is worth it this far north.
